What to Expect During a Flooring Installation (Ohio Homeowner Guide)
If you’re planning to install new flooring in your home or cabin in Logan, Nelsonville, Laurelville, or the Hocking Hills, you might be wondering what the process looks like from start to finish. Whether you’re choosing LVP, laminate, hardwood, or tile, knowing what to expect makes the entire project smoother, cleaner, and less stressful.
Here’s a simple, contractor-approved guide that walks you through every stage of a typical flooring installation.
🗂️ 1. Before Installation: Prep & Planning
Good preparation reduces delays and makes the installation quicker.
✔ Choose your flooring type
LVP, laminate, hardwood, or tile each have different timelines and prep needs.
✔ Remove furniture
Furniture must be moved out of the room before installation.
✔ Schedule material delivery
Especially for:
- LVP (needs 24–48 hours to acclimate)
- hardwood (5–7 days acclimation)
- tile (check for broken boxes before day one)
✔ Create a path for workers
Clear hallways and doorways make it easier to haul materials and tools.
🧳 2. Material Acclimation (A Must in Southeast Ohio)
Humidity swings in Hocking County are no joke — and flooring reacts to moisture.
LVP:
Needs 24–48 hours in the room.
Laminate:
Needs 48–72 hours.
Hardwood:
Requires 5–7 days to stabilize.
Tile:
No acclimation needed, but adhesive and grout perform better in stable conditions.
Skipping acclimation is the #1 cause of gapping, lifting, and buckling.
🚧 3. Day 1: Tear-Out of Old Flooring
Most installations begin with removing:
- Carpet
- Padding
- Old vinyl
- Damaged laminate
- Tile (if replacing)
Expect:
✔ Noise
✔ Dust
✔ Debris
✔ Trips to the trailer or truck
Tile demolition is the most labor-intensive and may take longer depending on the size of the room.
🧱 4. Subfloor Inspection & Repairs
After tear-out, the subfloor is inspected for:
- Soft spots
- Moisture damage
- Uneven areas
- Squeaks
- Rot
- Loose OSB seams
Common repairs:
- adding screws to eliminate squeaks
- leveling subfloor with compound
- replacing water-damaged sections
- installing new underlayment
A solid subfloor ensures your new floor lasts.
📏 5. Underlayment Installation (If Needed)
Depending on the flooring type, you may need:
- Moisture barrier
- Foam underlayment
- Plywood underlayment
- Cement board (for tile)
Example:
Tile requires ¼” cement board or another approved tile underlayment.
LVP may require a moisture barrier on concrete slabs.
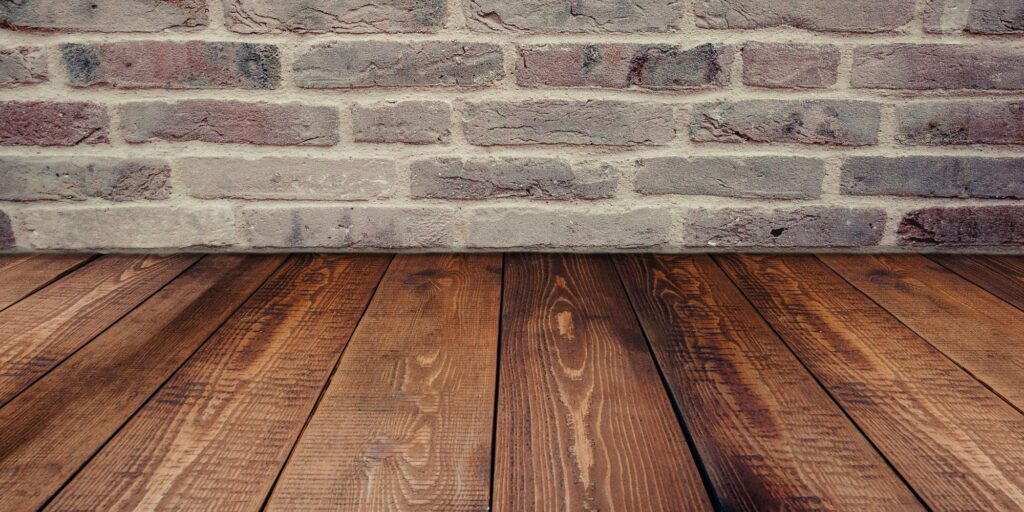
🪚 6. Installing the New Flooring
This is the fun part — the room starts transforming.
✔ LVP / Laminate
Installed as floating floors with staggered joints.
✔ Hardwood
Boards are nailed or glued, depending on the style.
✔ Tile
Laid out in a specific pattern, spaced with tile spacers, and installed using thinset.
✔ Typical installation time:
- LVP/laminate: 1–2 days per room
- Tile: 2–4 days depending on size and complexity
- Hardwood: 2–5 days
Things that extend installation:
- Complex patterns
- Tight spaces
- Transitions between rooms
- Stairs
- Large square footage
⚙️ 7. Baseboards, Trim & Transition Pieces
After flooring is installed, trim work finishes the clean, professional look.
Includes:
- Reinstalling baseboards
- Installing new quarter round (if needed)
- Cutting transitions between rooms
- Trimming around door frames
This step gives the flooring a polished, finished appearance.
⏳ 8. Drying, Curing & Working Time After Installation
Tile floors:
Grout needs 24–48 hours to cure before walking on it.
Hardwood:
May need 48–72 hours before placing furniture.
LVP/Laminate:
You can usually walk on it immediately, but it’s best to wait 24 hours before heavy furniture.
🧼 9. Cleanup & Disposal
A professional install includes:
✔ sweeping
✔ vacuuming
✔ removing debris
✔ disposing of old flooring
✔ wiping down surfaces
Tile installs produce more dust and debris, so cleanup may take longer.
🔍 10. Final Walkthrough
Before the job is finished, your contractor should:
- Check transitions
- Inspect seams
- Verify doors open/close without rubbing
- Confirm trim is secure
- Ensure flooring is level and tight
This is your chance to point out anything that needs tweaking.
❗ Common Surprises Homeowners Experience (And They’re Normal)
1. Subfloor issues
Rot, moisture, and uneven spots are common, especially in older Hocking Hills homes.
2. Squeaks
Easy to fix once the old flooring is removed.
3. Dust
Even with dust control, flooring installs make a mess.
4. Transitions
Height differences between rooms may require transition strips.
5. Door trimming
New flooring height sometimes requires shaving the bottom of doors.
None of these mean anything went wrong — they’re just part of the process.
🎯 Quick Timeline Overview
✔ LVP/Laminate install:
1–3 days
✔ Tile install:
3–6 days
✔ Hardwood install:
3–7 days
✔ Prep (tear-out + subfloor):
½–2 days
✔ Acclimation:
1–7 days depending on material
📞 Planning New Flooring in Hocking County?
We install:
✔ LVP
✔ Laminate
✔ Hardwood
✔ Tile
✔ Trim & transitions
✔ Subfloor repairs
Josh Carpenter Construction
Serving Logan • Nelsonville • Laurelville • Hocking Hills
Free Estimates • Clean Work • Honest Pricing
Send a message or text to schedule your flooring estimate. Check out our services.